
Here you can see, how I build a small box, inserted it and refixed the top of the original power cell housing.
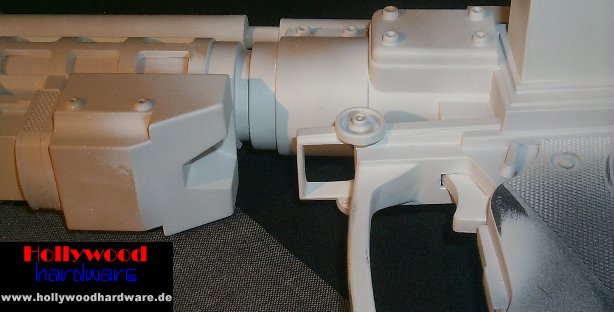
The front stabilizer was drilled out and puttied.
Constructing and inserting the new back stabilizer. Notice, that the small ring was completely sanded flat

Adding the supporter and more detail to the back stabilizer

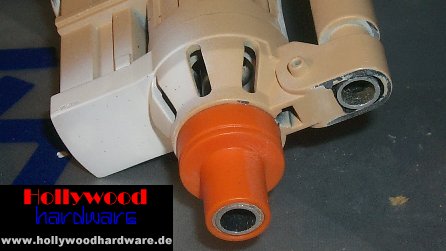
During this step, I added screws to the body, which were missing or wrong on the original toy. I did not alter the battery housing, because I wanted to keep the sound effects.
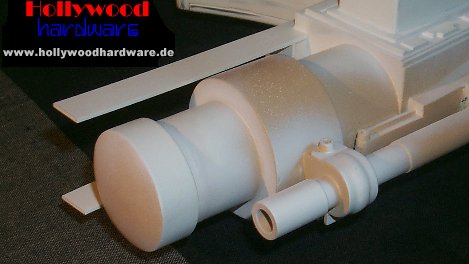
An aluminum barrel was added to the original muzzle, puttied and then glued into place. The front of the "waste energy conduit" was also redone.
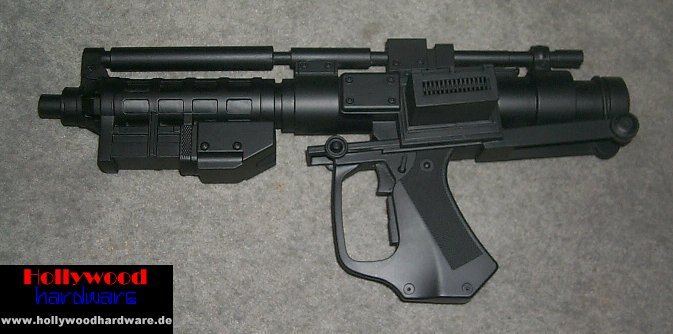
After sanding several times, the whole body was sprayed with some light coats of Herberts flat black.